
Valorant Maps Explained: Best Strategies for Each Map

Firstly, the current VALORANT live map rotation will be explained. According to Riot’s official website, the current list of maps for competitive and deathmatch includes Corrode, Abyss, Sunset, Lotus, Pearl, Fracture, Breeze, Icebox, Ascent, Split, Haven, and Bind, with Patch 12.08 bringing Ascent to competitive and deathmatch modes while removing Bind from these modes. Moreover, Riot adds that Breeze underwent a significant rework in Patch 12.00, while Lotus received A-site alterations in Patch 12.05; also, Haven and Corrode got wall penetration buffs in Patch 12.00.
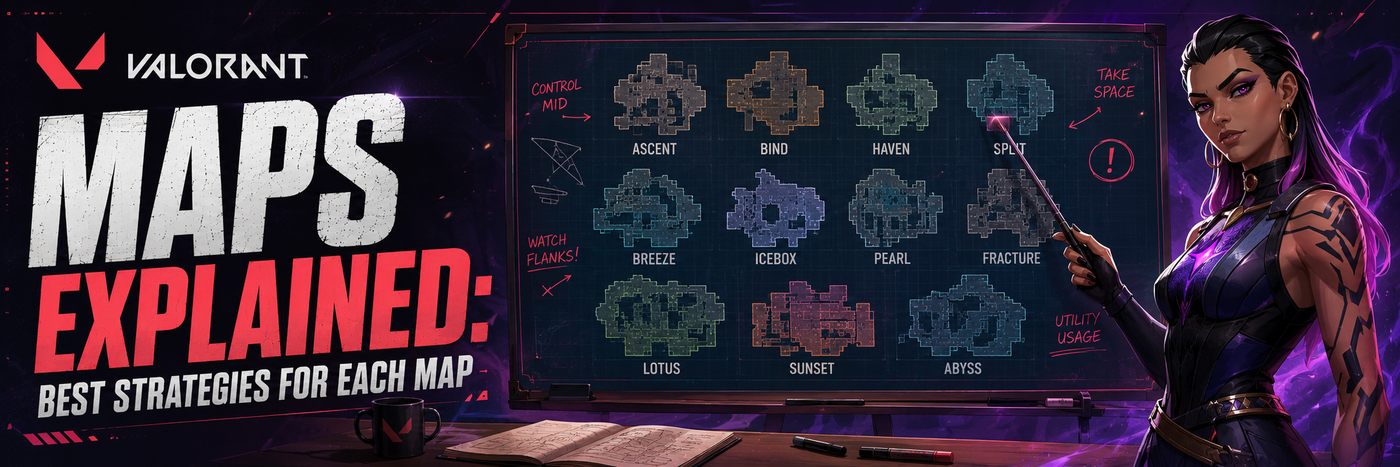
The most effective approach to improve performance on any map is obvious: discover what the map requires, and build a strategy according to these needs. The map can penalize the slow and isolated peeks of your agents. It can reward fast map domination, mid point control, or organized retake attempts. The following table provides an in-depth analysis of the maps, which is aimed at both competitive teams and rankers.
Corrode

Corrode is a classic three-lane map featuring a French castle town transformed into a radianite salt mine. This should tell you all you need to know about Corrode – that it is an active map where good positioning and proper execution are rewarded.
If attacking Corrode, do so with restraint and precision. Gain early advantage but avoid getting caught up in crossfires. Utilize utility to force isolated crossfires and keep someone on your team prepared to punish those pesky flanks. Remember, this map revolves around layers of crossfires, so don’t be the team that runs into each one blindly. On defense, play with patience and give your opponent a taste of Corrode. This map works for defensive teams that have the discipline to trade and pull back without making cheap picks.
Abyss

An Abyss map has a hidden base under a bottomless ravine, and Riot refers explicitly to “death drops” and risky utility plays. In other words, aim alone won’t help you here – you need to learn spacing and timing and avoid getting tricked into a deadly trap.
The best teams playing Abyss know how to set up traps on this map. When attacking, use your utility and pressurize the defender, forcing him to move away from the ledge. As for defense, try to set yourself up for battle in such a way that you won’t be pressed into a death trap. Also, avoid solo fragging with a hero from one particular angle on the map. Overcommitting to a duel where you don’t have a secure angle is the biggest mistake that can be made when playing Abyss.
Sunset

Sunset is a traditional map consisting of three lanes in a city layout based on a local Kingdom disaster zone. The map may look simple, but its simplicity calls for more coordination rather than less. Sunset penalizes those teams who surrender space too quickly or are unable to counter mid-pressure.
The right way to play Sunset is to battle for map control first, before deciding where to plant. In this map, mid will always be the spot to keep your eyes on, as it allows attacking teams to divide defenders' attention, and for defenders, mid is the place where the round can be read easier. As an attacker, make sure to prepare a solid game plan based on info, and then play aggressively using numbers. As a defender, always be prepared to contest mid, and don't hesitate to rotate after identifying an incoming threat.
Lotus

Lotus is a three-point map featuring large stone doors, which offer movement opportunities and several entry routes into the circle. Three points completely change the pace of the match as the defense will have to defend a larger area, while attackers can consistently threaten the defense with rotation trouble.
As an attacker, Lotus performs best when the defense is confused. Never focus too much on a single point early on. Using the doors and the mobility of the map to pressure one side and transition to the weakest defensive buildout becomes crucial. In terms of information exchange and regrouping, quickness plays an essential role. As a defender, communication and patience are required. With three points, a team cannot afford to make panicking rotations each time they hear any utility. It is vital to anchor strong, report your vision, and rotate only if the attack is confirmed. Additionally, due to Riot’s change to the 12.05 version of the A-side, some old executions should be slightly modified.
Pearl

Pearl is an extremely mechanics-free map, based on the geography of a bustling underwater metropolis. As Riot emphasizes, Pearl features a condensed mid and wings, making Pearl a map where the mid becomes the key to controlling the entire map.
As an attacker, Pearl is about clean map splits. Once the defenders lose mid, they can no longer determine the true point of attack. Consequently, your strongest attacking rounds will be those in which you win a single battle, use that space advantage to create pressure or pinches. Defending Pearl requires keeping the mid secure at all costs. If the attackers gain control over the center of the map, your site anchors will only be reacting too late to the attacks on your sites.
Fracture

Fracture is a research laboratory torn by a failed radianite test, and Riot’s own map description clearly outlines its theme: defenders have multiple choices, and the match can be aggressive on the attacking side or cautious right from the location.
The perfect strategy for Fracture is teamwork. On the attacking side, this map is most effective when there are several players creating pressure simultaneously from various angles, not when there are five guys dry peeking one side of the map. Try to make the defenders feel that they are surrounded even before the execute happens. As for defending this map, don’t fall into the trap of passiveness and disconnections. You should communicate effectively, coordinate your crossfires and retake plans since Fracture may fall apart quite easily when you spread out too much.
Breeze

Riot’s open tropical map with wide spaces that allow long-range engagement and the use of cover and flanks is called Breeze.
According to Riot, one needs cover in this map, which offers large open spaces with long-range fights. Hence, it is important to understand that Breeze differs from other maps in the game precisely because of these conditions.
The key to success on Breeze lies in slowing down the pace of the game. If playing as an attacker, do not move forward into wide open sightlines without knowing what you are going to do in case something goes wrong; create spaces through the use of utilities and hold the ground for defender peek attempts; always have a flank watcher. On defense, Breeze requires careful positioning rather than constant swinging because there are very long sightlines. Also, due to the fact that Breeze was significantly reworked in 12.00 update, the older Breeze strategies are no longer effective.
Icebox

Icebox is a clandestine excavation map of the Kingdom where the environment is dominated by arctic conditions. Riot calls out the importance of horizontal maneuverability, snow and metal protection, and ziplines in making the map. All these aspects make for a very challenging map.
When attacking on Icebox, you must be able to apply pressure using vertical tactics in combination with utilities. Make the enemies uncomfortable in terms of both entrance points and high grounds simultaneously. The sheer amount of vertical opportunities in the map makes gunfights an easy target for elimination. When defending, control angles where the attackers are forced to waste their utilities, and always expect late-game movement through ziplines and off-angle approaches. Teams that know where the main fight actually takes place can easily excel on Icebox. If your team is into structured executes and solid post-plant sets, then this will surely rank among your favorites.
Ascent

Ascent is an open map consisting of several small wars of position and attrition, where doors to drop bombs become irreversibly locked and can alter site fortification. Simply put, it is a map where positioning matters, and giving up the position too soon can lead to defeat.
The correct approach for Ascent would be to give importance to mid-control and territory denial. When attacking, you must create the pressure by being unpredictable, making the defenders wonder whether you will break the map through the primary path or through the center. When defending, you should take space cautiously and avoid spending your utility too soon as there is always an option for your opponent to reroute the map. Ascent benefits from well-paced game, good crossfiring, and the effective use of doors on the map. Riot Games have even reintroduced Ascent to competitive and deathmatch play in Patch 12.08.
Split

Height is essential to Split. The map has an elevated center, where there are two ascenders, and towers play a pivotal role in control. It can be seen from Riot’s explanation that it is very important that your team knows how to use verticality properly because if they do not, then you are essentially handing the map over to your opponent.
When on offense, Split will have the best impact on your team if you show some level of respect towards the mid pressure and ensure that your team clears the high ground carefully. Just rushing the site does not work on this map. Your team should have enough utility and lane discipline and must pay attention to players that are above them. In contrast, when defending, Split is one of the best maps to punish sloppy pushes, thanks to verticality.
Haven

Haven, the iconic three-point map, takes place in the setting of a forgotten monastery.
Riot also says that with additional space for attackers, the defenders of Haven get extra land, thus leading to more wide-spread, informatics-filled games than an average two-point map.
The key to attacking Haven is to leverage the map control to create splits in defense. With the existence of three points, players have more opportunities to bait out rotations to strike the weakest link in the defense. Playing aggressively on defense is possible, but requires full cooperation from the team members. Extending too much during a game on Haven can backfire, as there is ample room for attack to strike down the disconnected defender.
Additionally, Haven needs another look since Riot patched out wall penetration in the 12.00 update.
Bind

Currently, Bind has been taken out of competitive play as well as deathmatch as of Patch 12.08, but Bind is one of the core maps in VALORANT. This map contains two plant sites, no middle point, straight lanes for attackers, and two one-way teleporter tunnels that facilitate flanks. That is the reason why this map feels so unique because Bind is all about pressure and mind games.
When playing on attack in Bind, you should be focusing on using teleporters as a psychological weapon rather than just as a tool for mobility. The team on the defense will constantly feel pressured by the potential late or quick re-hits. If we discuss defense in detail, the key factor here is to read timings. This map doesn't have any mid-point, so each round will be about the fight for the direct lane access and utility timings.
Final take
Valorant maps aren’t merely floor plans. They are circular stories. Corrode and Ascent prioritize map control, Abyss and Icebox prioritize clever verticality and positioning, Breeze penalizes sloppy spacing, and Haven or Lotus demand better coordination because the map demands it. When you figure out the true nature of the map, your aim and mechanics will instantly become much more reliable because you won’t be fighting in the wrong spots anymore.
The best way to go up in rank quickly is to quit asking yourself how you can beat the map through mechanics and start asking how the map wants you to fight. The moment you figure that out, your execution, rotations, and retakes will be much more polished.
For Those interested, here is their VALORANT merchandise collection:
https://bowchika.in/collections/Valorant